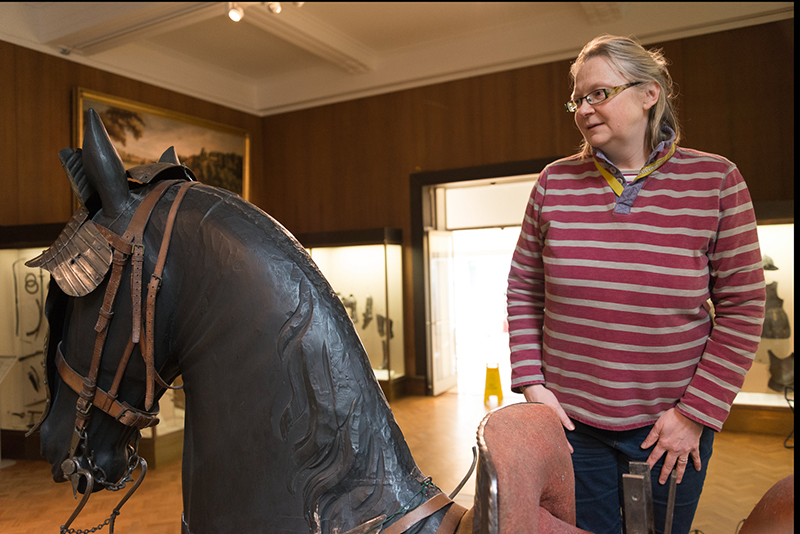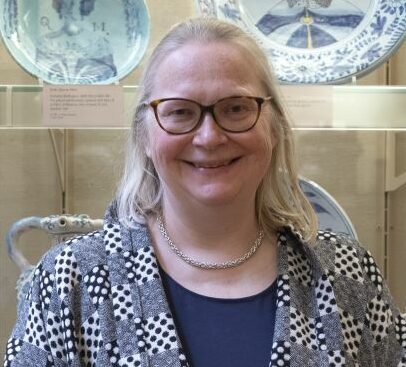
The Fitzwilliam Museum’s knight on horseback is sporting a dashing new look. But how do you go about commissioning bright red and white barding and then installing it on a Victorian horse mannequin? Vicky Avery, Keeper of Applied Arts, shares her behind-the-scenes photos.
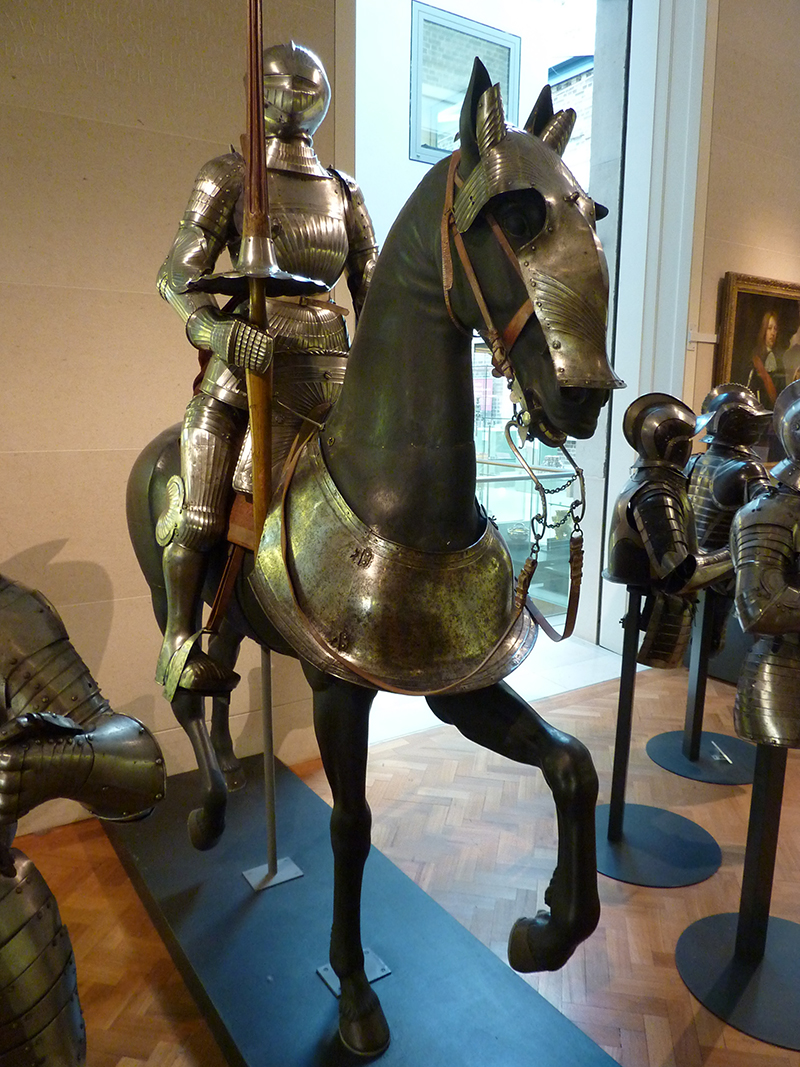
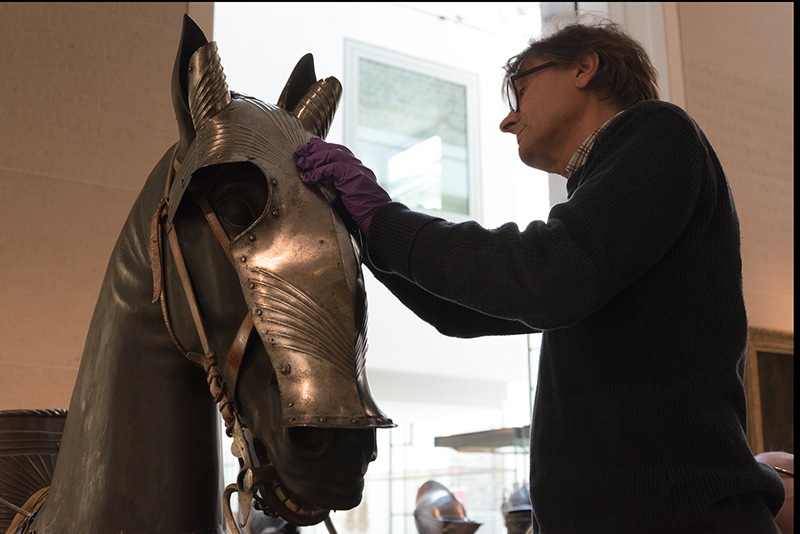
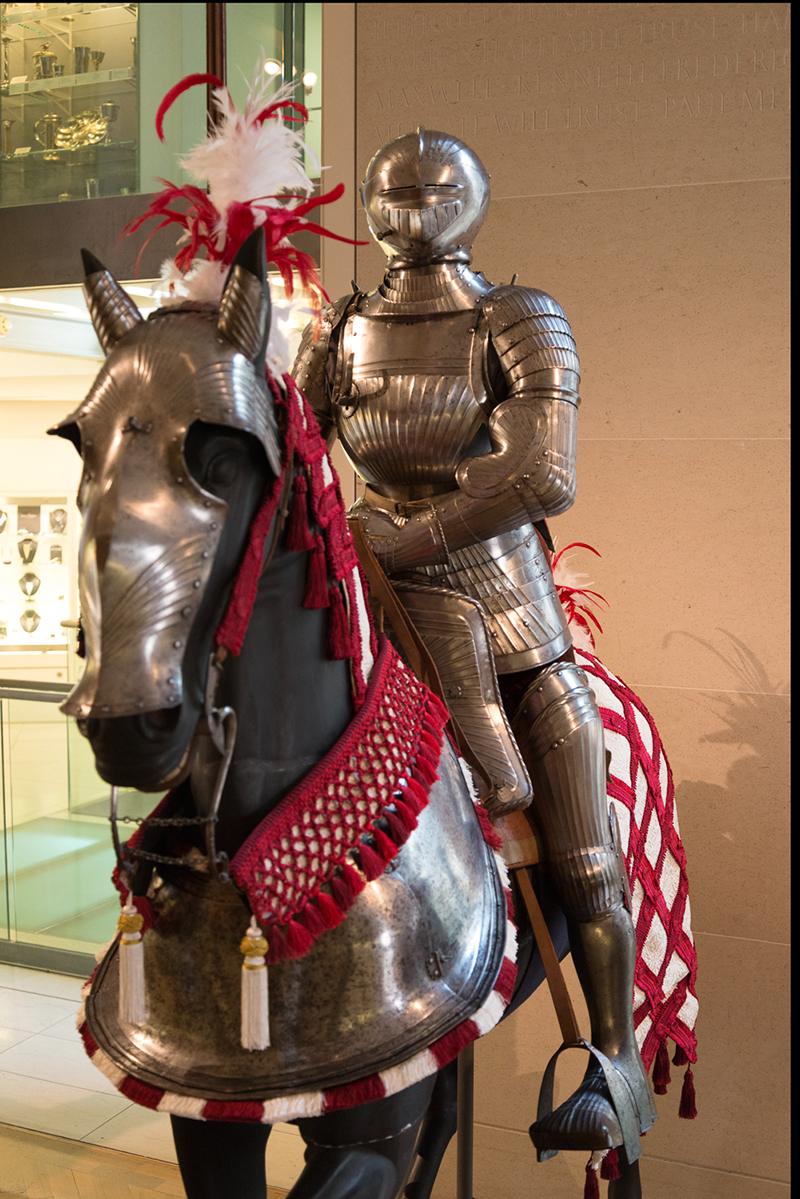
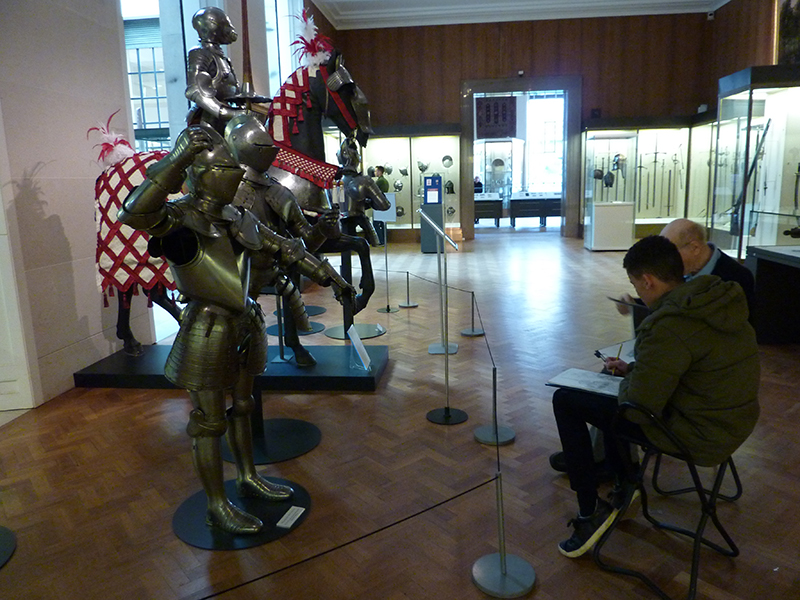
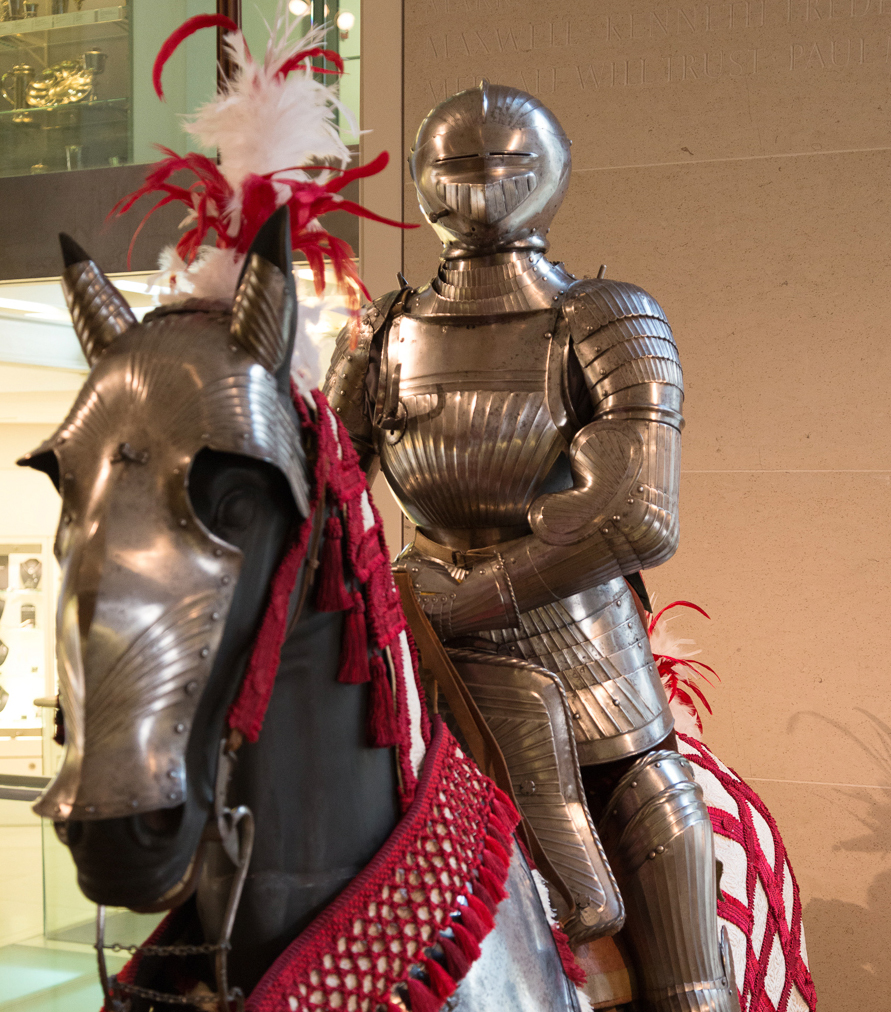
The mounted knight is the iconic and well-loved centrepiece of the Fitzwilliam’s Armoury. The armour itself is German, and dates to the 1520s, with its elegant ‘Maximilian style’ fluting reflecting contemporary civilian fashion. Feedback from visitors suggested that, although the Armoury is a strong favourite with families, the space lacked a jaw-dropping moment. Vicky decided to commission reproduction barding to give the mounted knight the drama and glamour he deserves.
What is barding?
Barding is an essential part of a Renaissance knight’s ‘dress kit’. Unlike a caparison that covers the whole horse, it’s a partial covering, designed for use primarily in processions, parades and jousts, to create a visually stunning effect and show off the status and wealth of the knight. The colourful fabrics and materials were phenomenally expensive, and were not worn on the battlefield (for obvious reasons)!
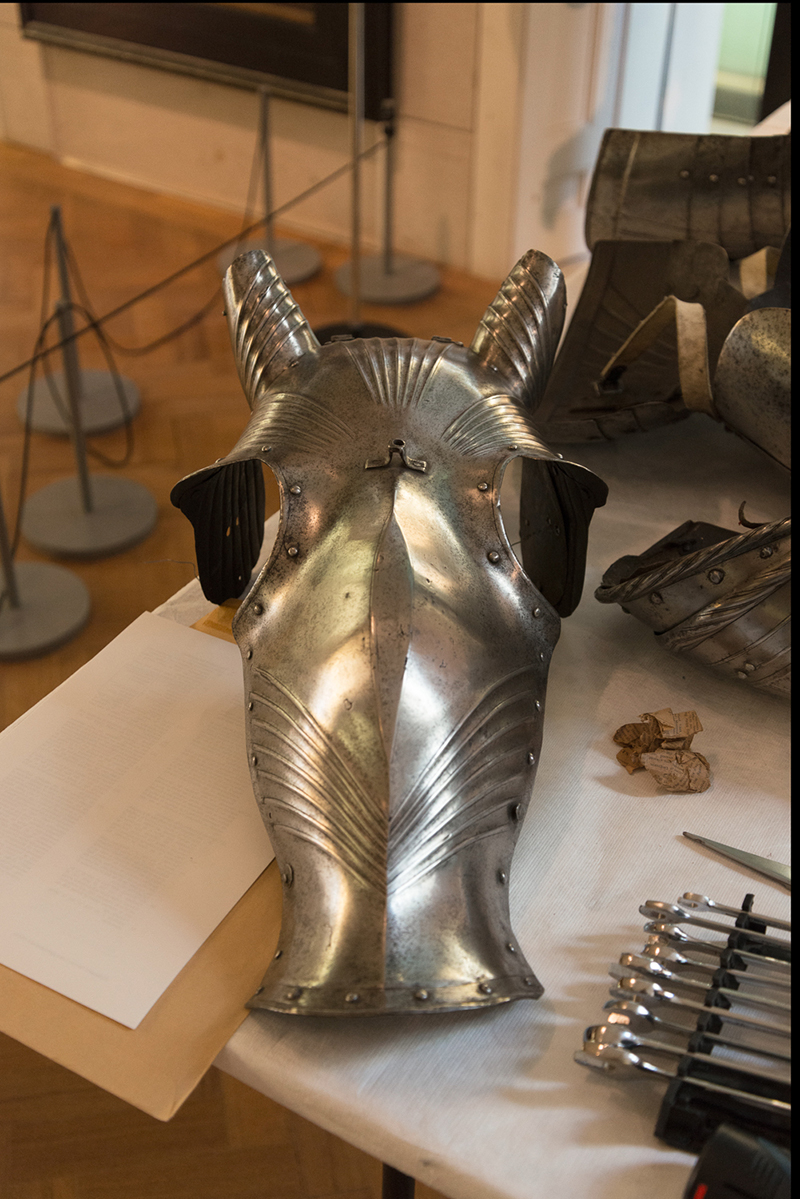
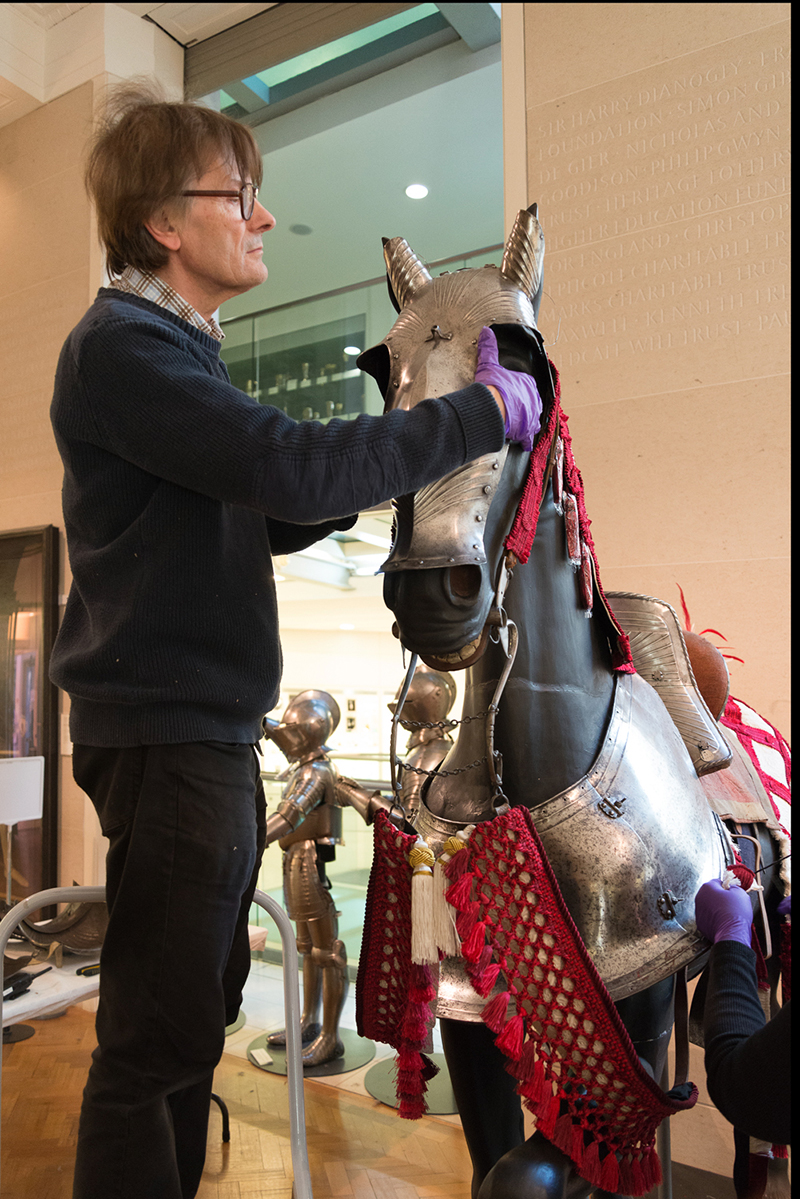
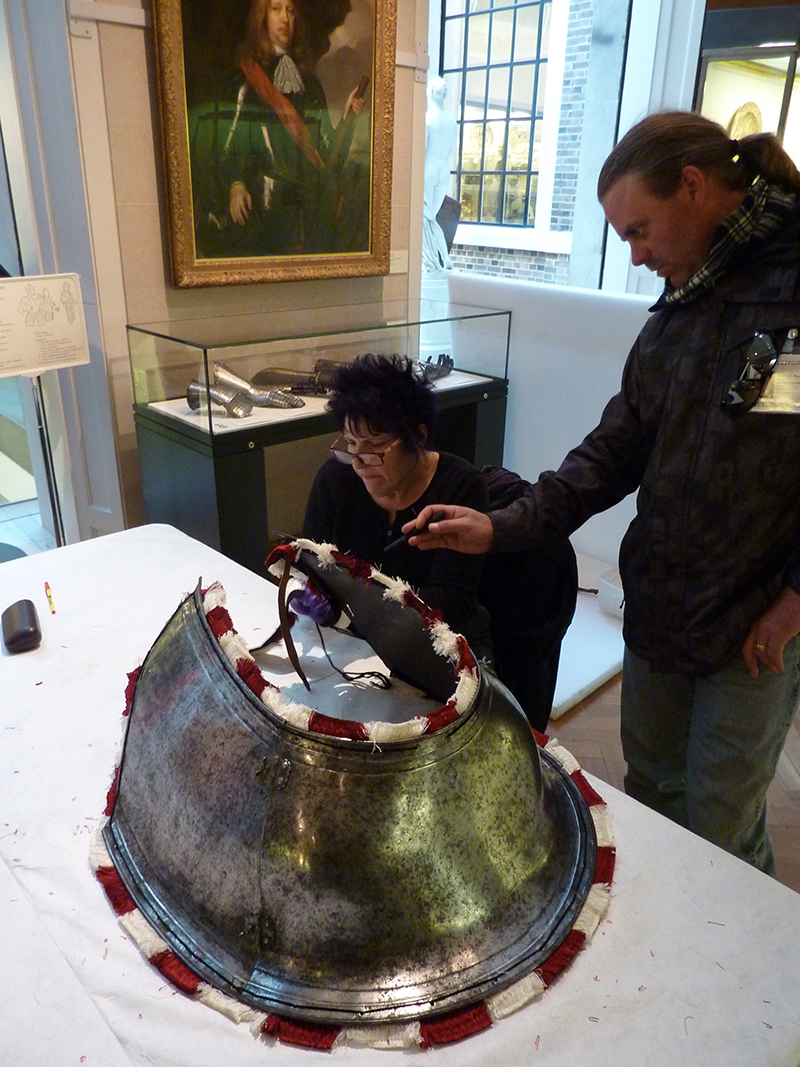
Why was barding chosen, not a caparison? Well, it’s a little known fact that horse mannequin itself is a beautifully crafted Victorian model on long-term loan from the Wallace Collection, London, and it would be a shame to entirely cover it up. Nor did we want to obscure all the splendid horse armour, which is why, for example, the peytral is only decorated with a fringe, rather than being covered over in cloth, which was often the case in parade barding.
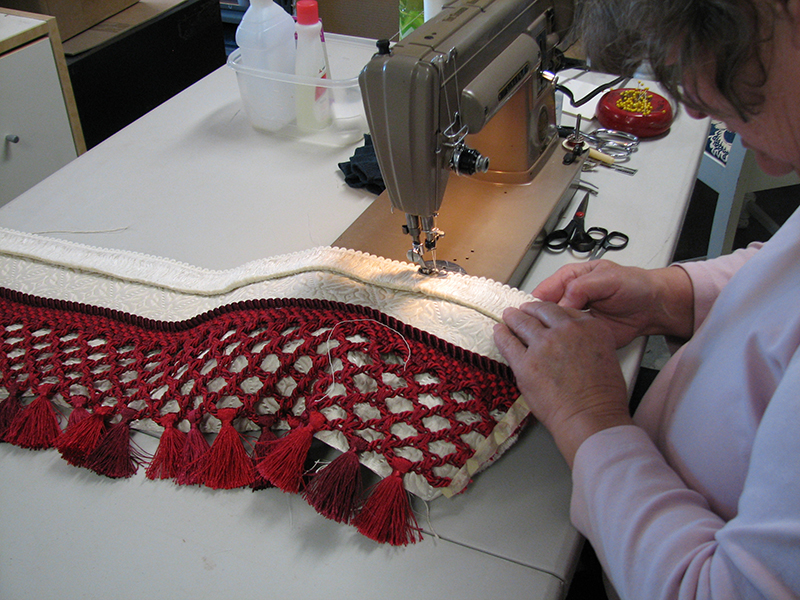
How was the barding made?
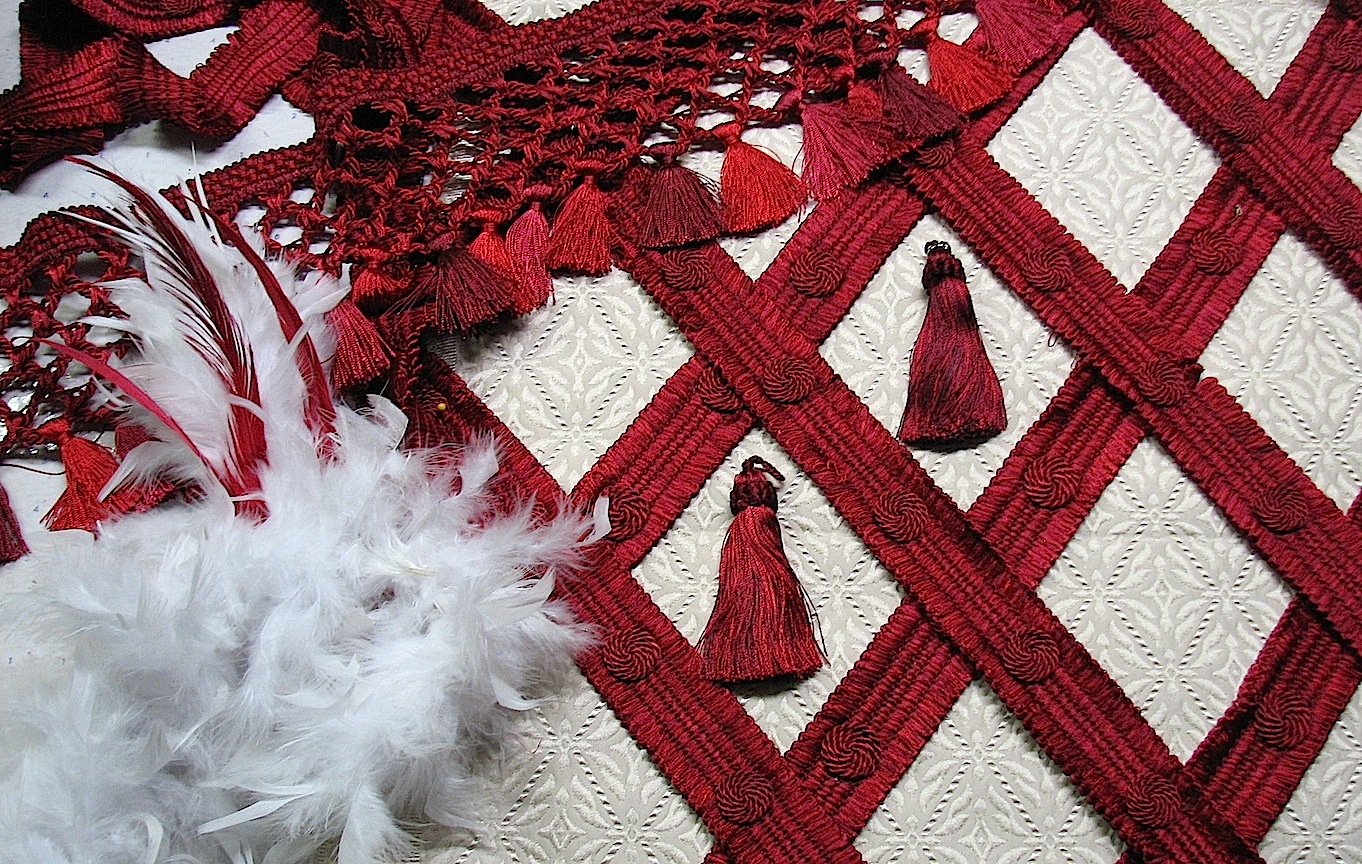
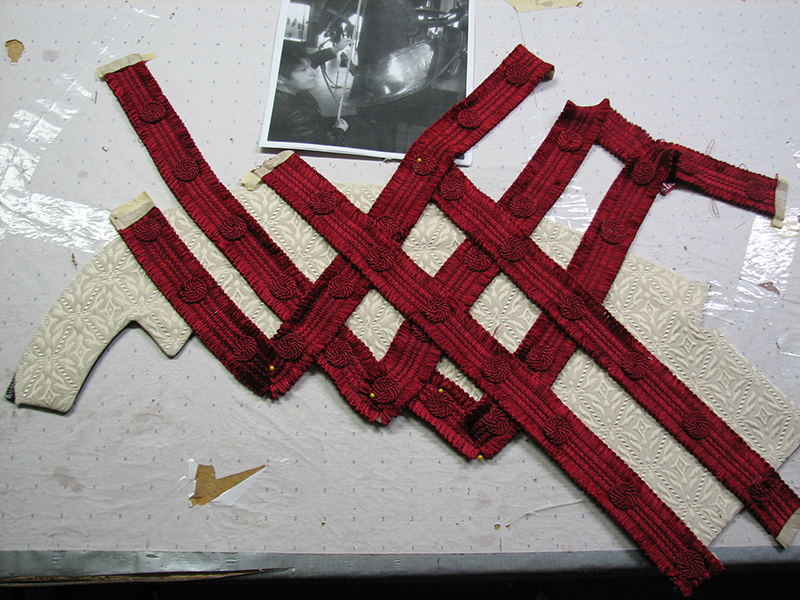
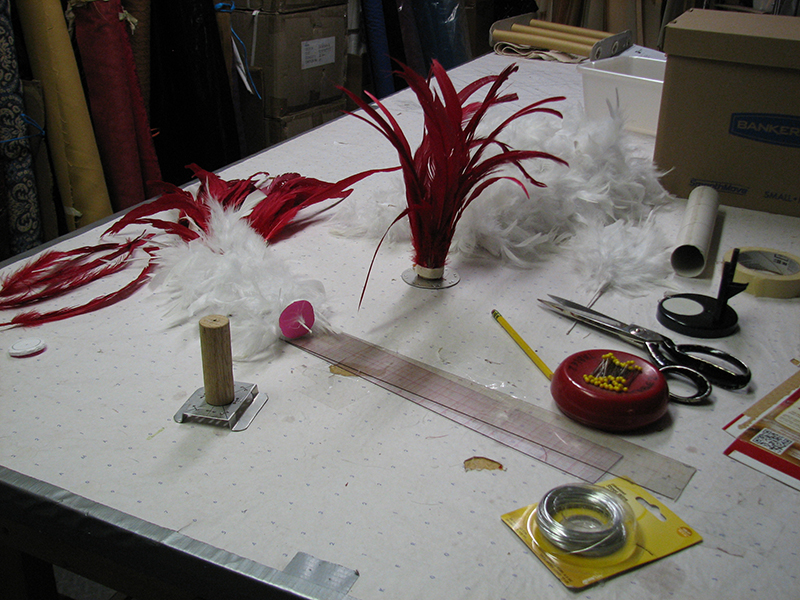
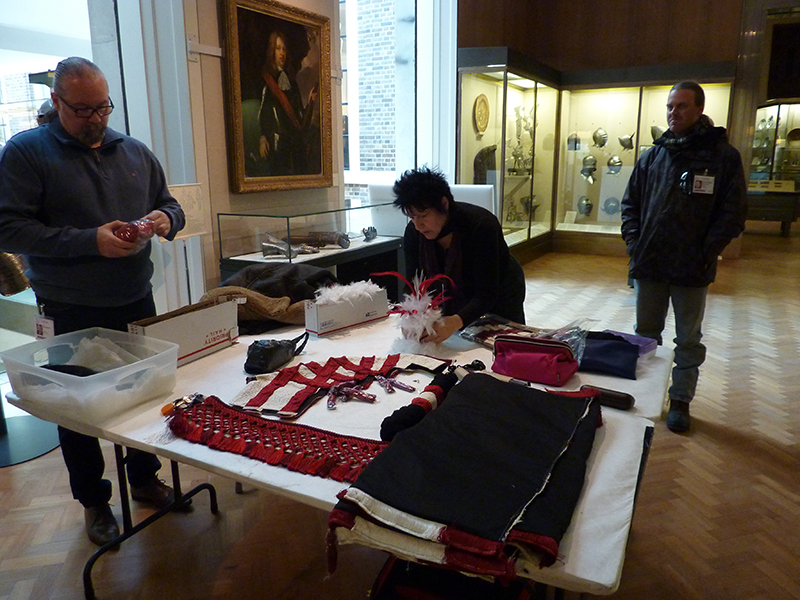
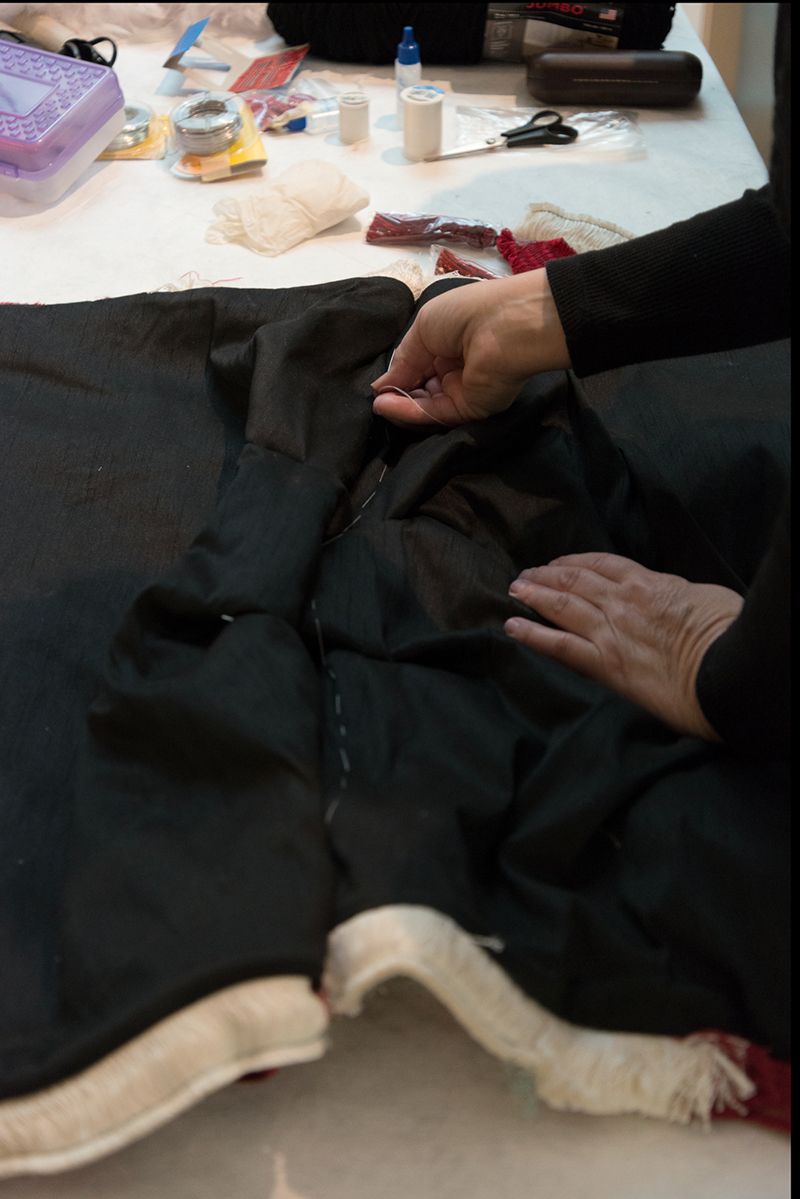
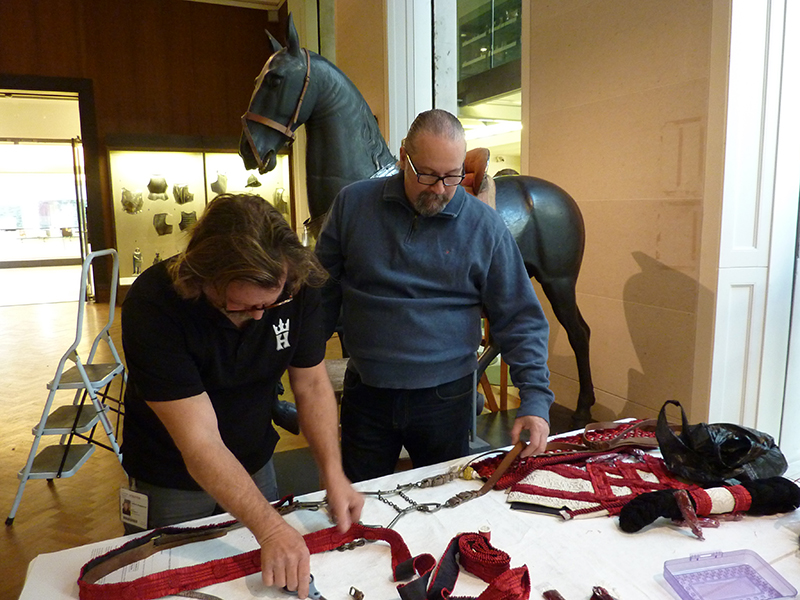
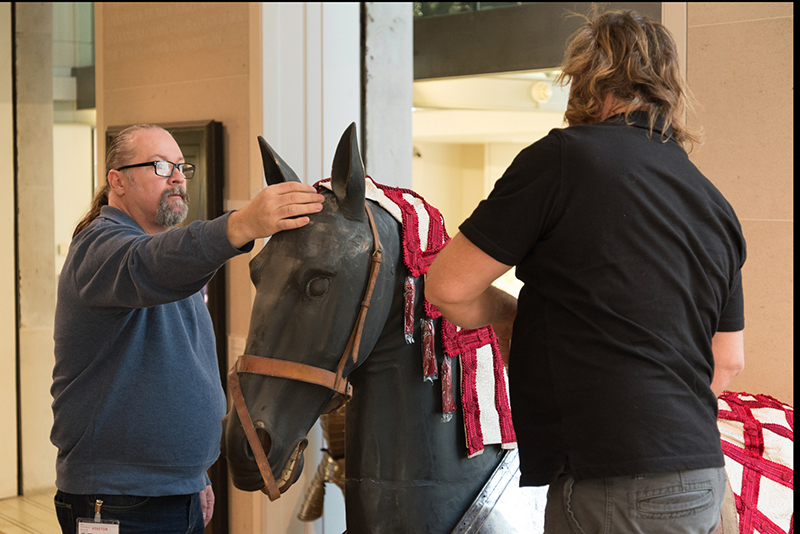
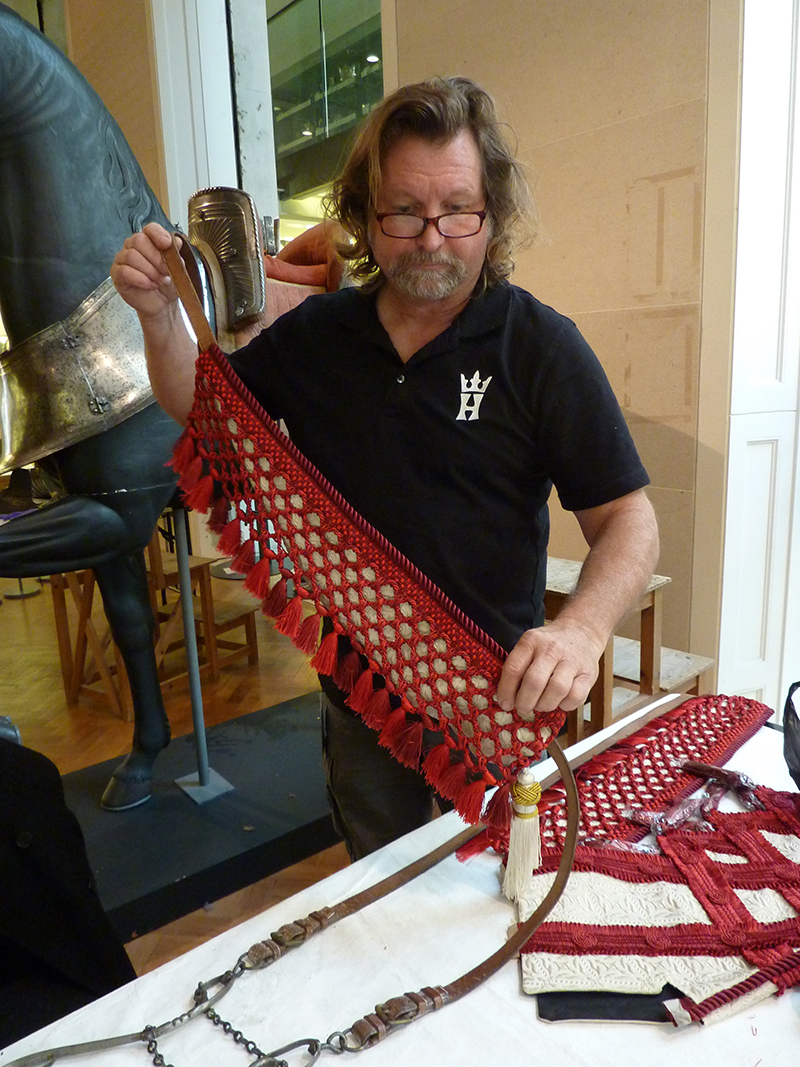
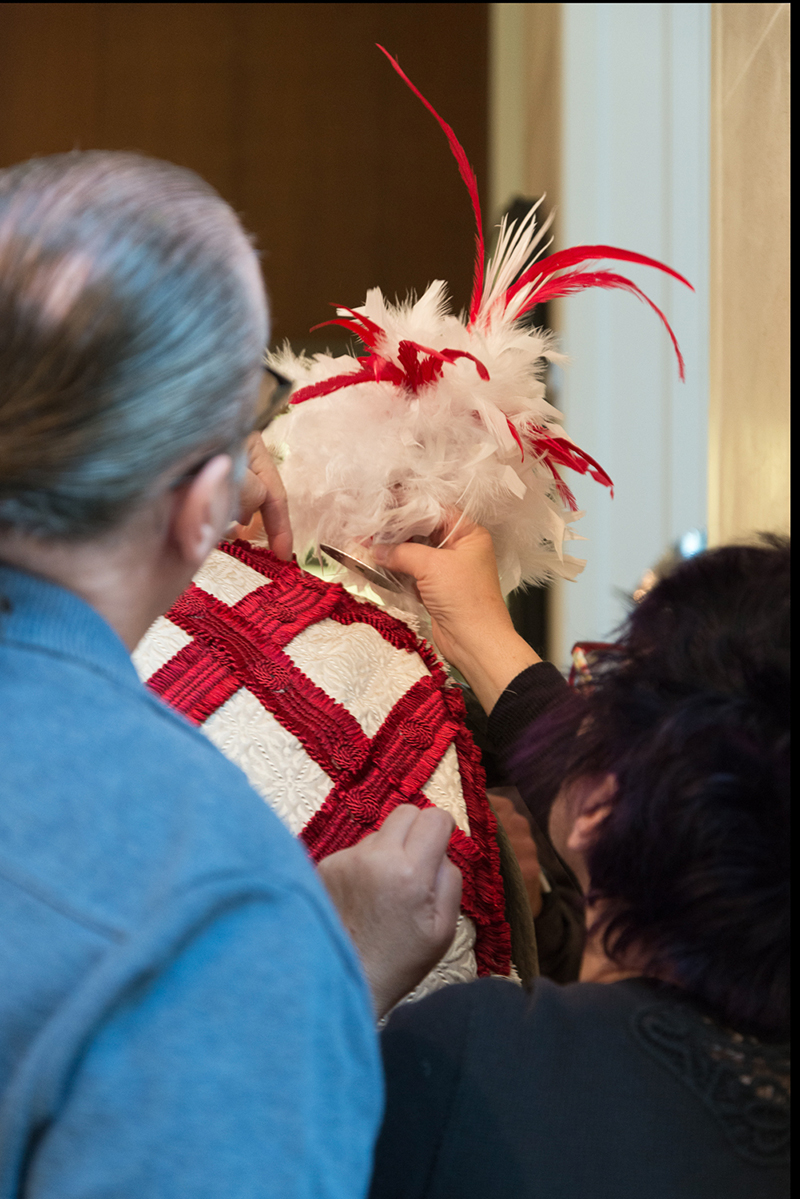
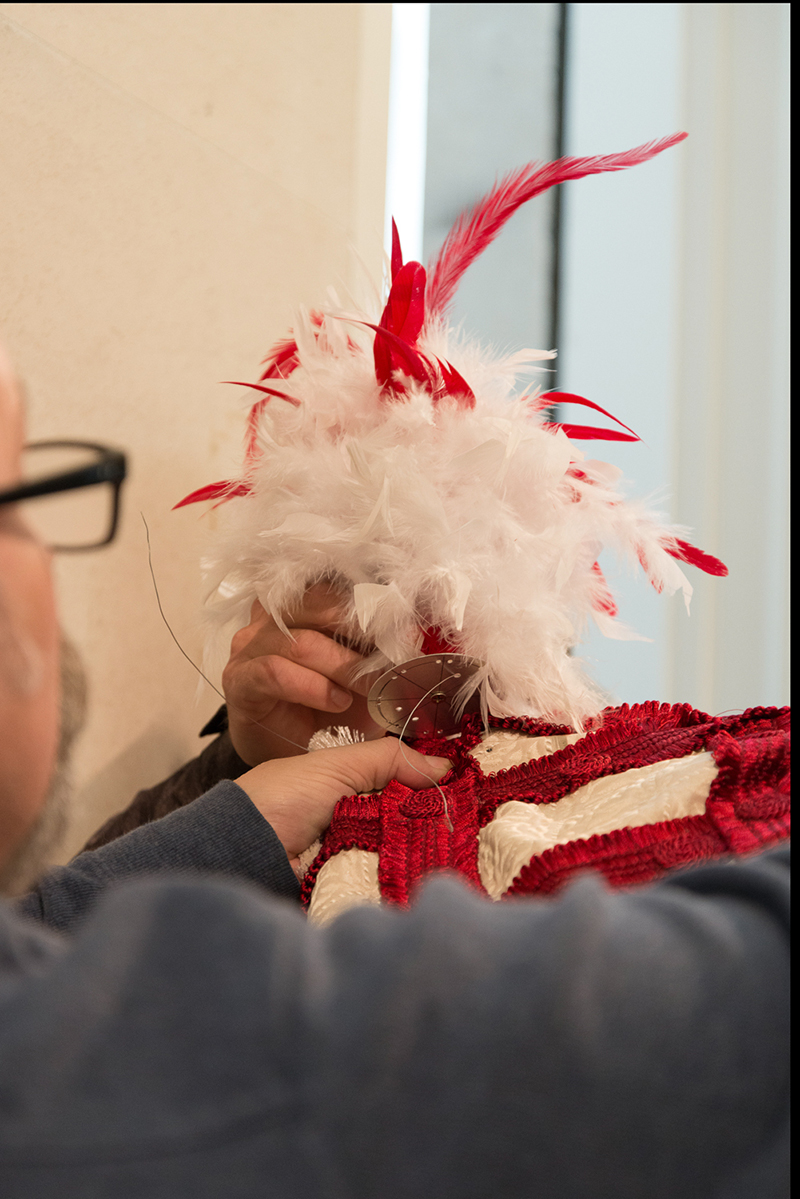
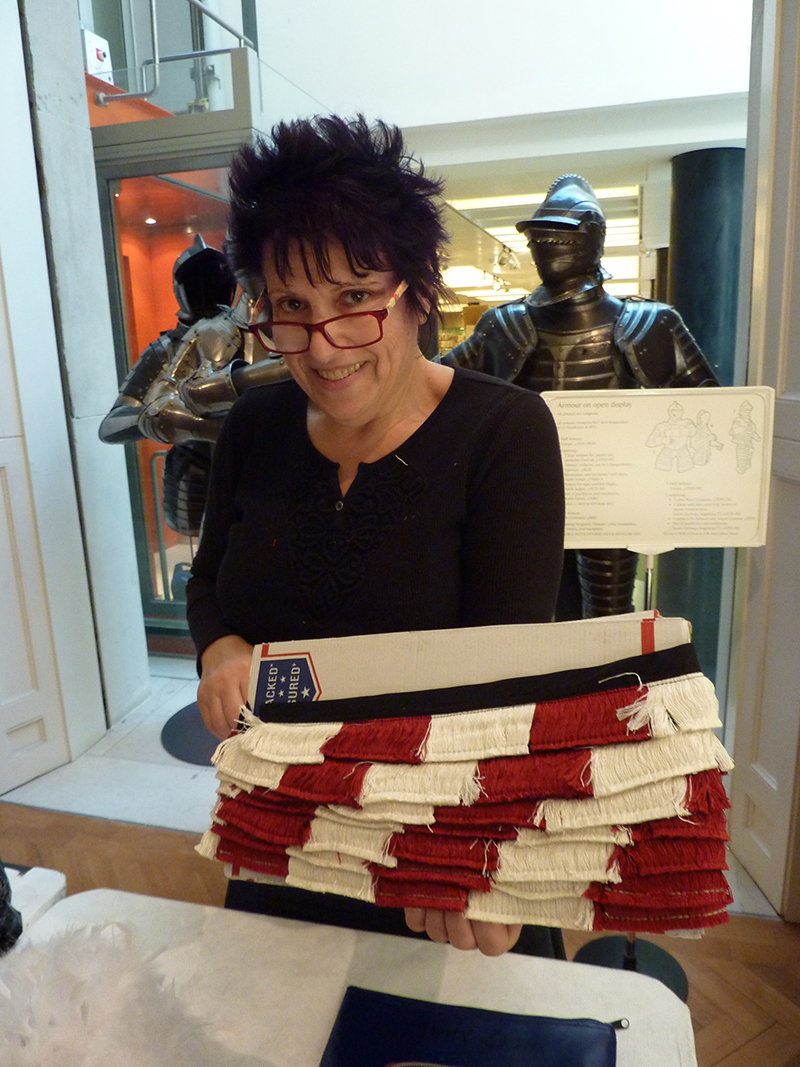
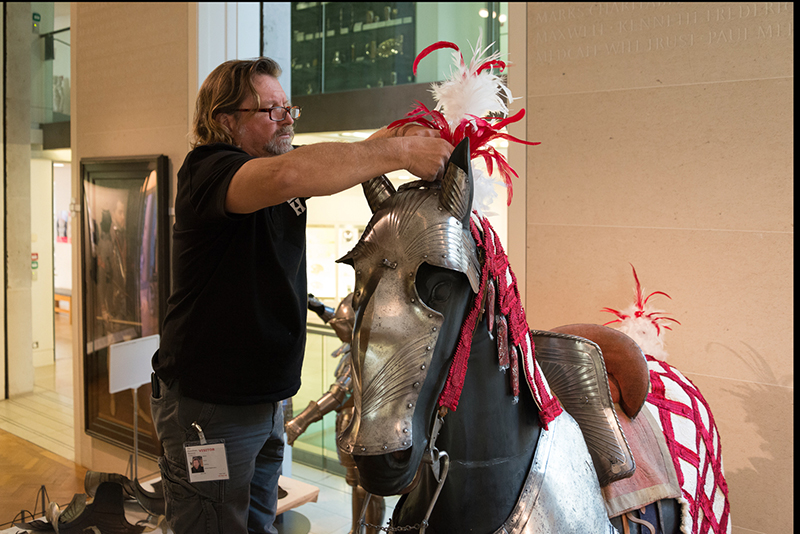
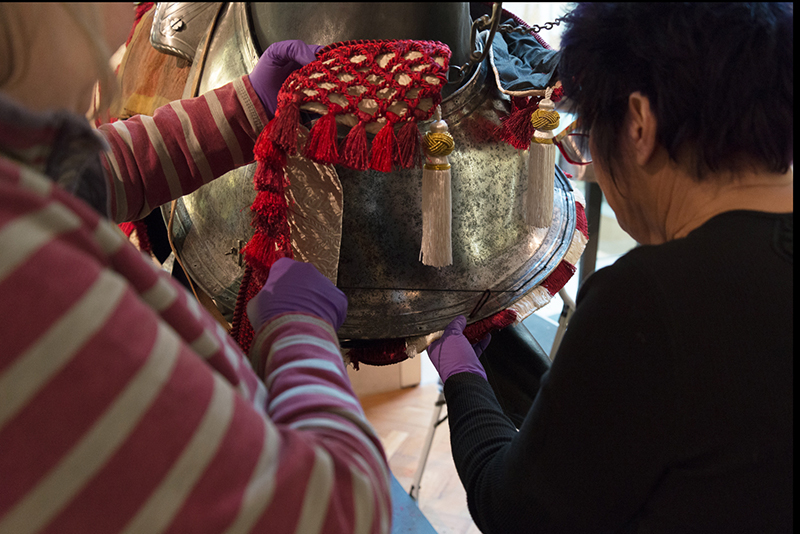
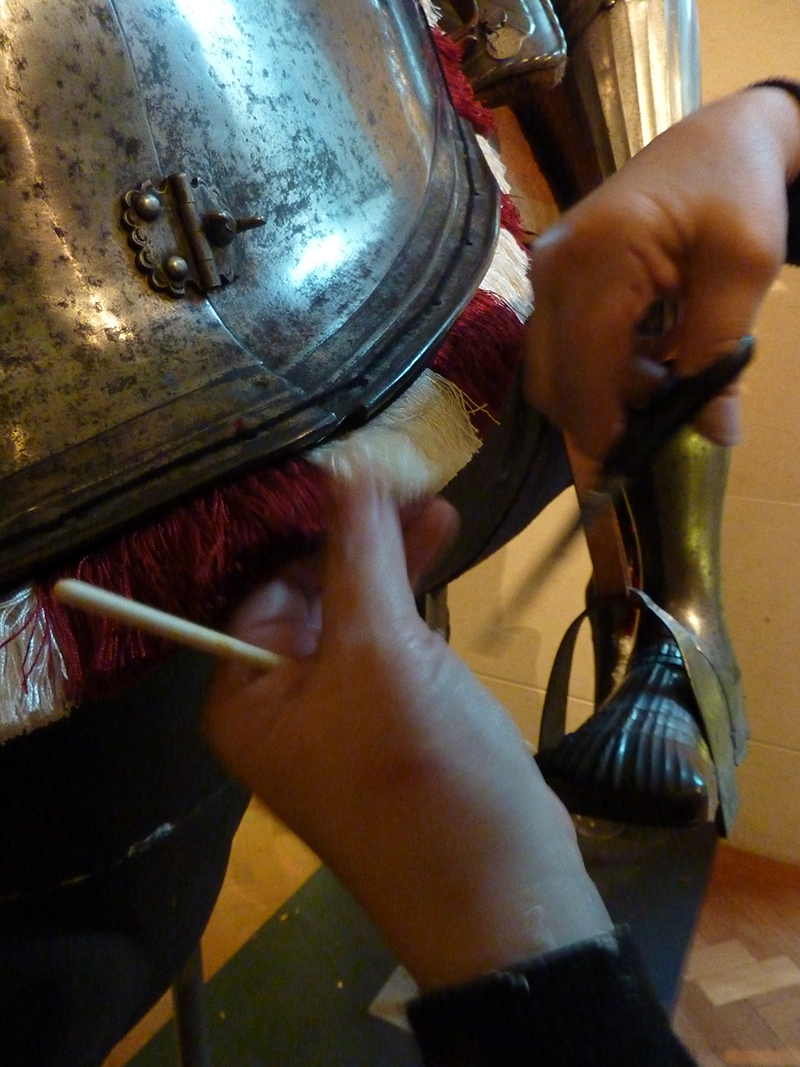
On the advice of Tobias Capwell, Curator of Arms & Armour at the Wallace, Vicky commissioned Historic Enterprises (based in California) to create a barding that would be in keeping with the early sixteenth-century German Maximilian-style armour of horse and rider. The barding is fashioned from Italian damask and faux silk and based on images of knights made in Germany in the early sixteenth century. Red and white were deliberately chosen as the colours of the Museum’s founder, Viscount Fitzwilliam. Look closely and you’ll see intricate details, from the brushed ‘slub’ of the faux silk, to the dramatic plumes on the horse’s tail and head. In the future, Vicky hopes to commission a bespoke internal articulated armature for the knight (to replace the very rickety 1930s armature currently supporting the knight) as well as some additional red and white plumes to crown his helmet.
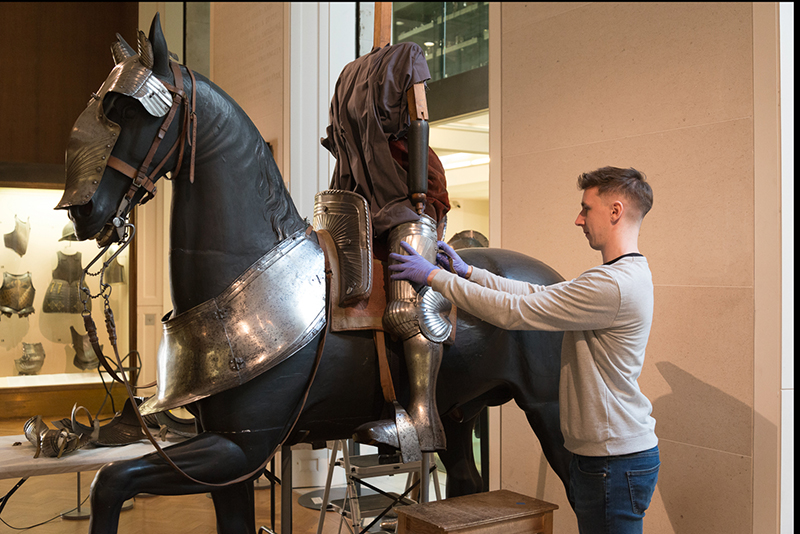
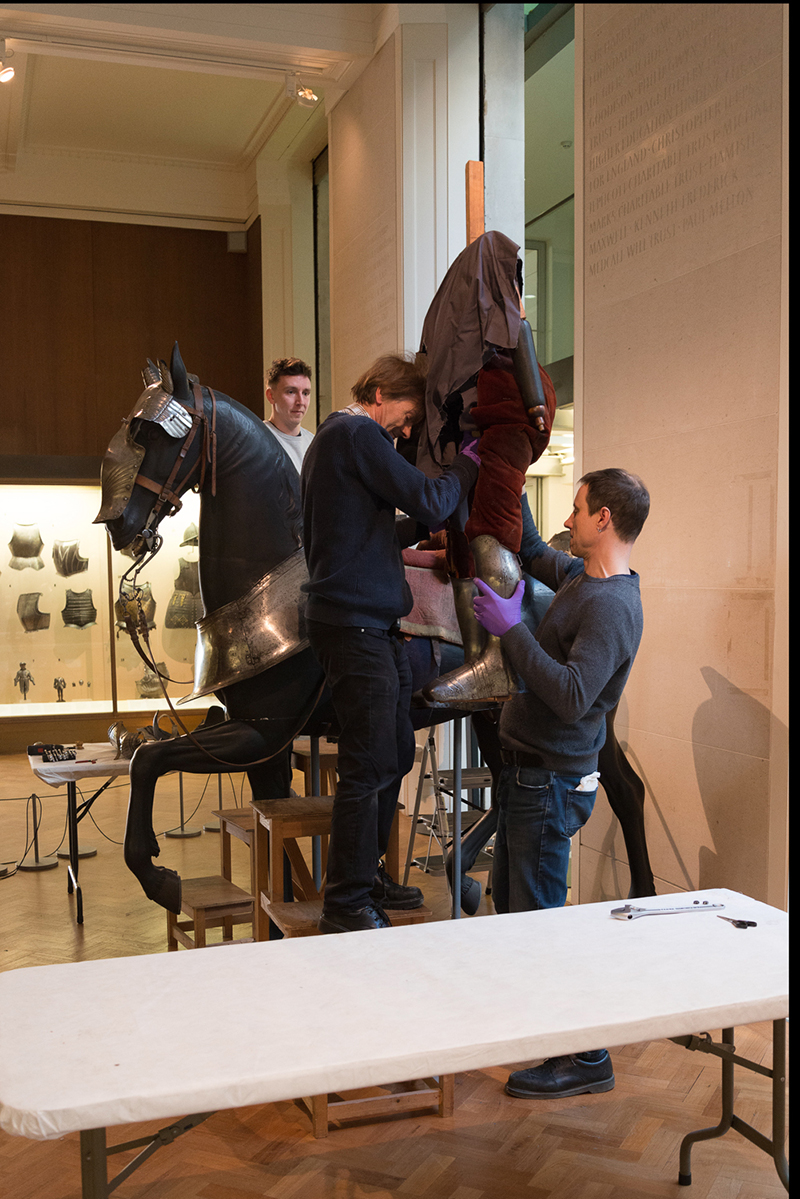
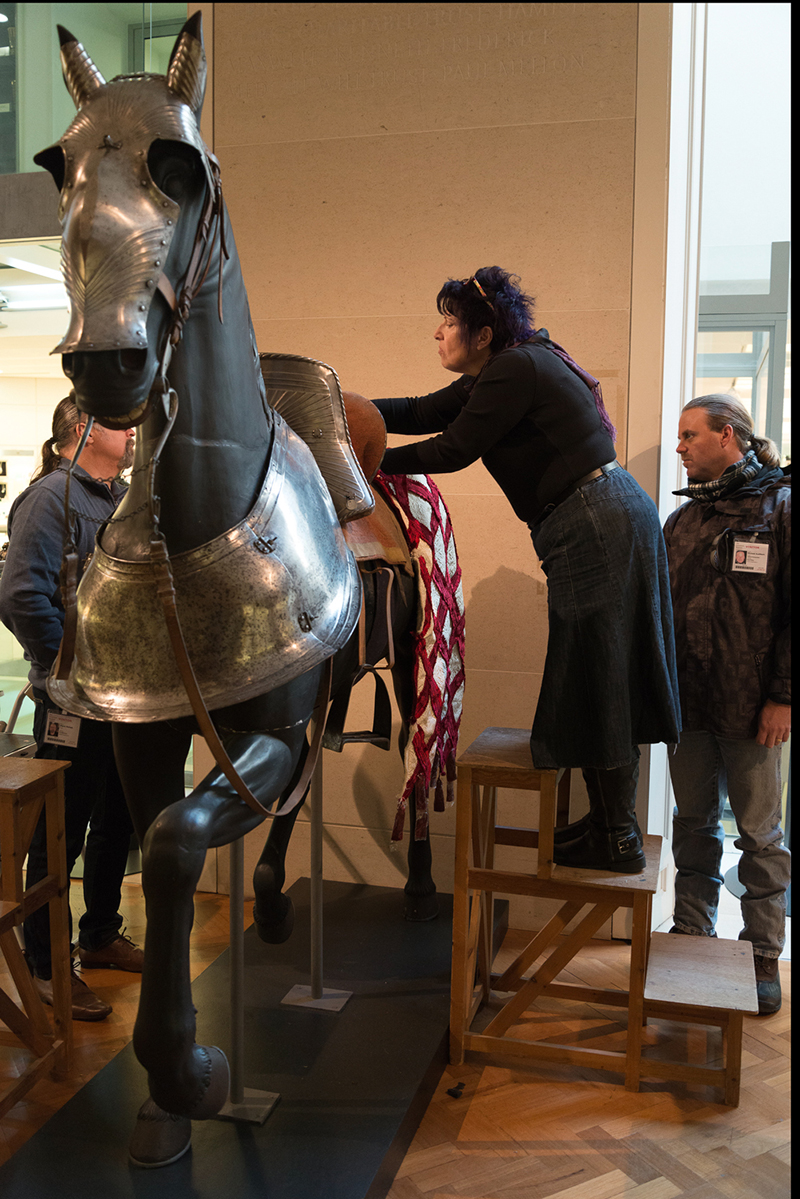
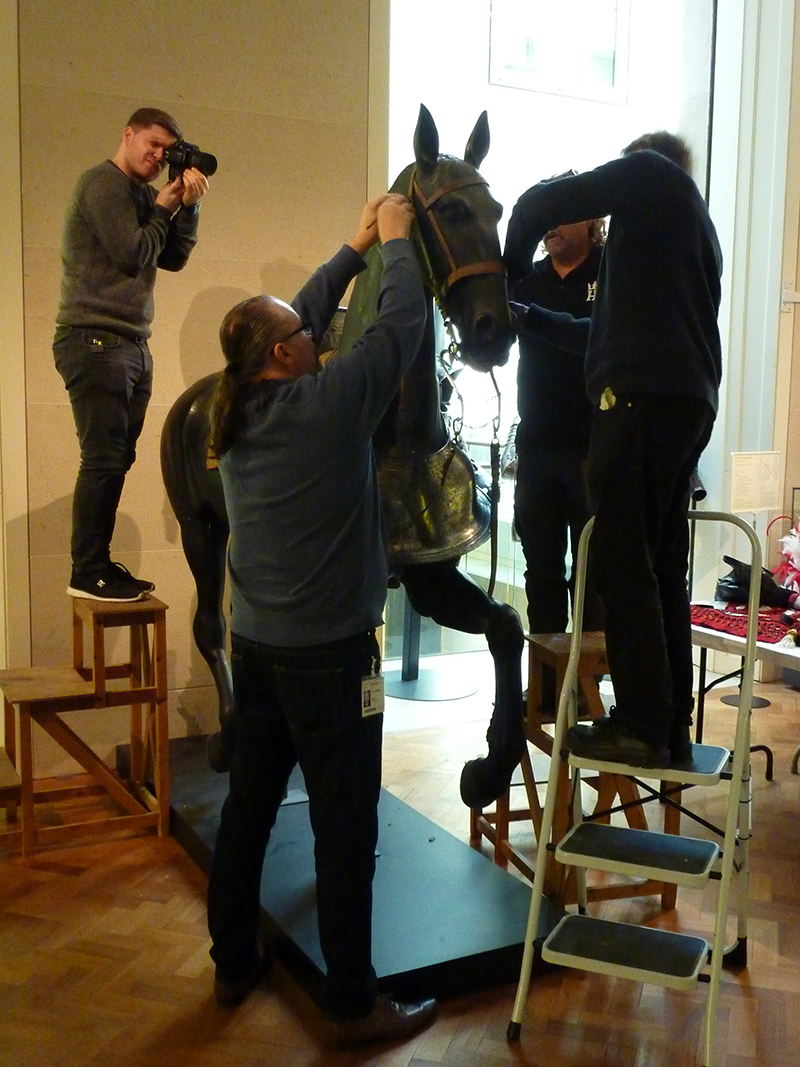
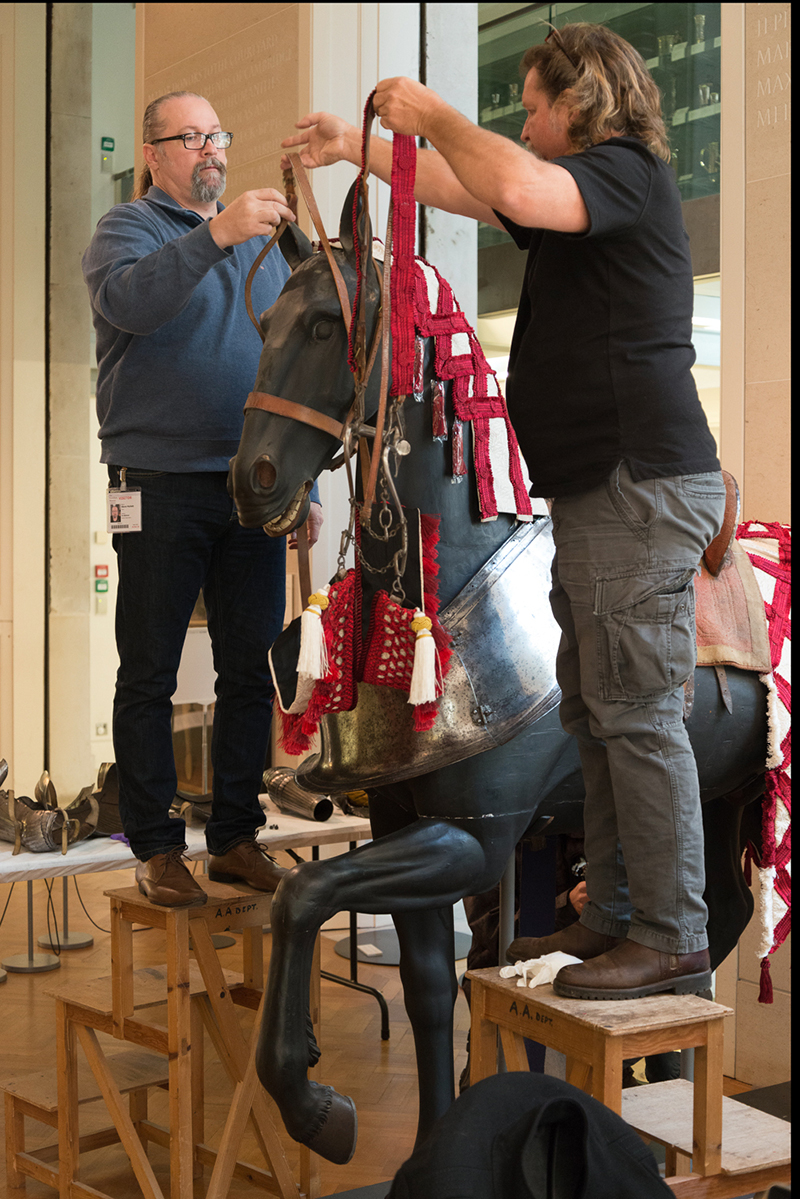
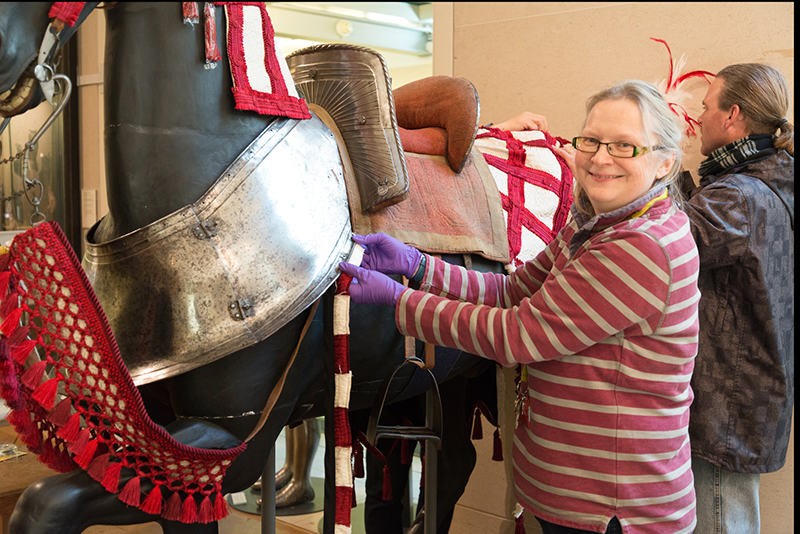
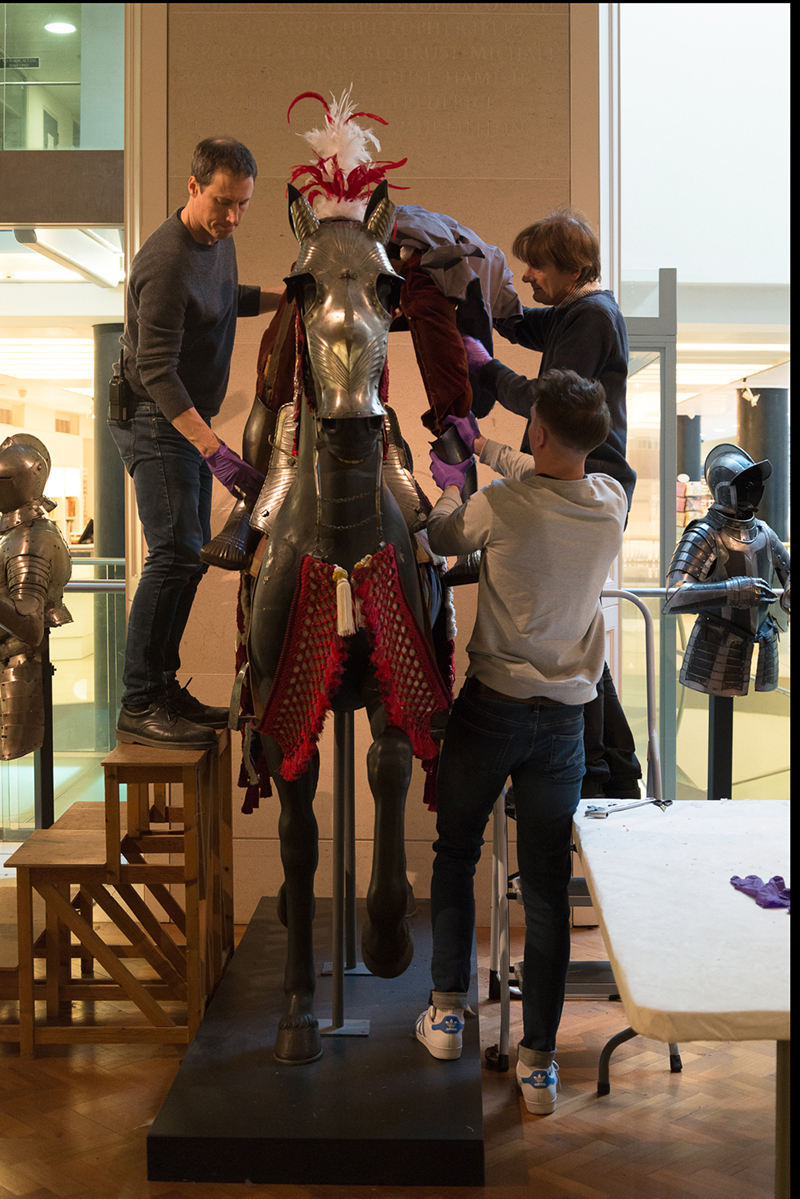
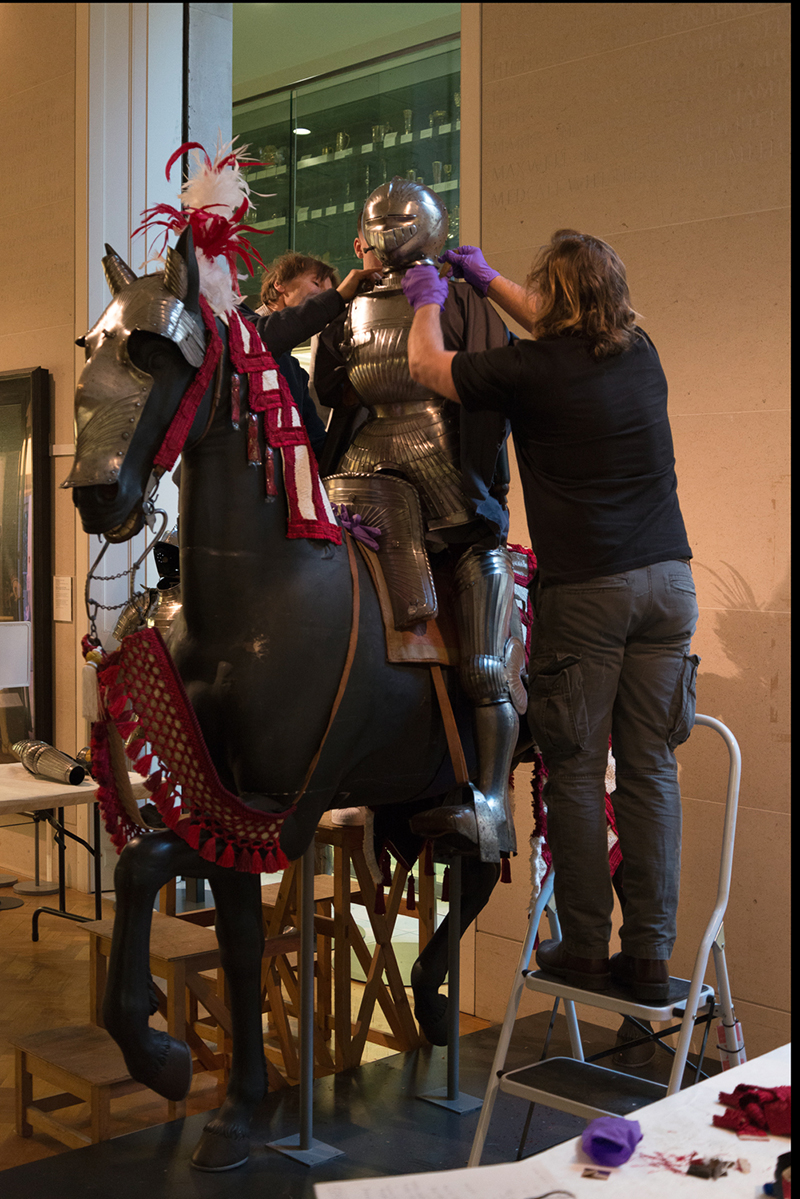
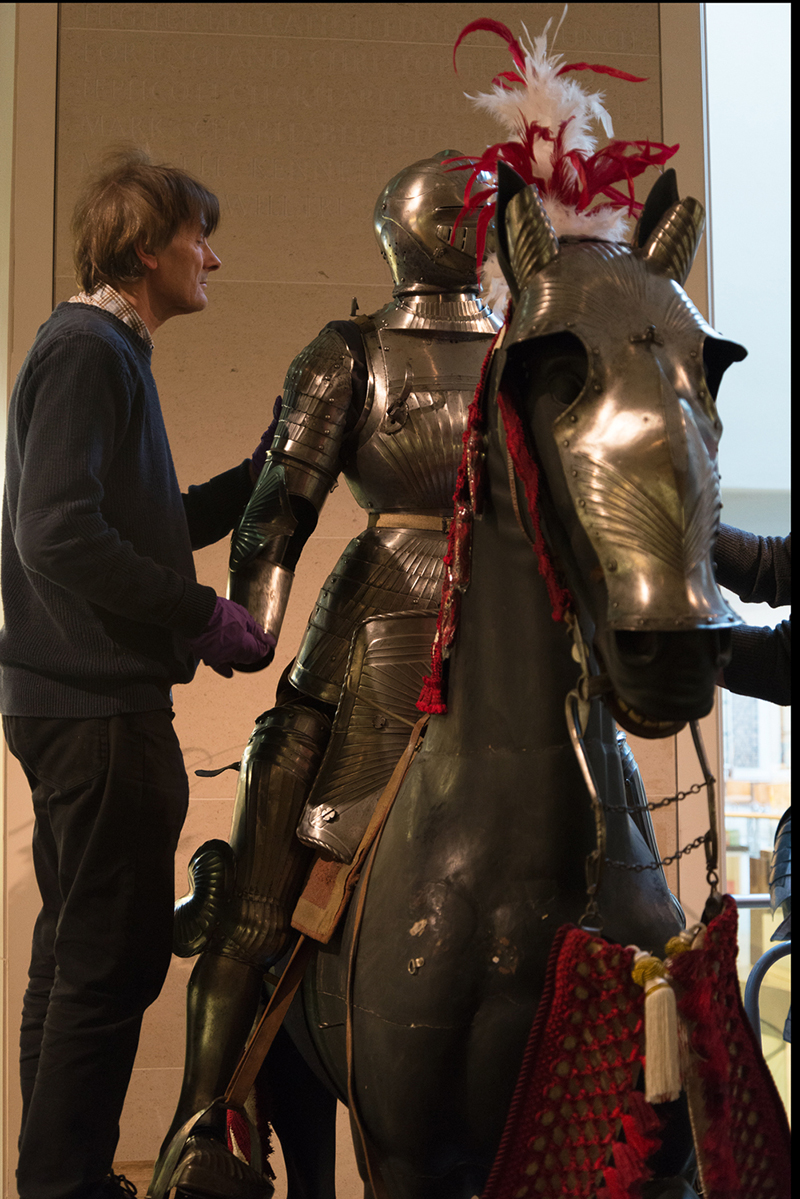
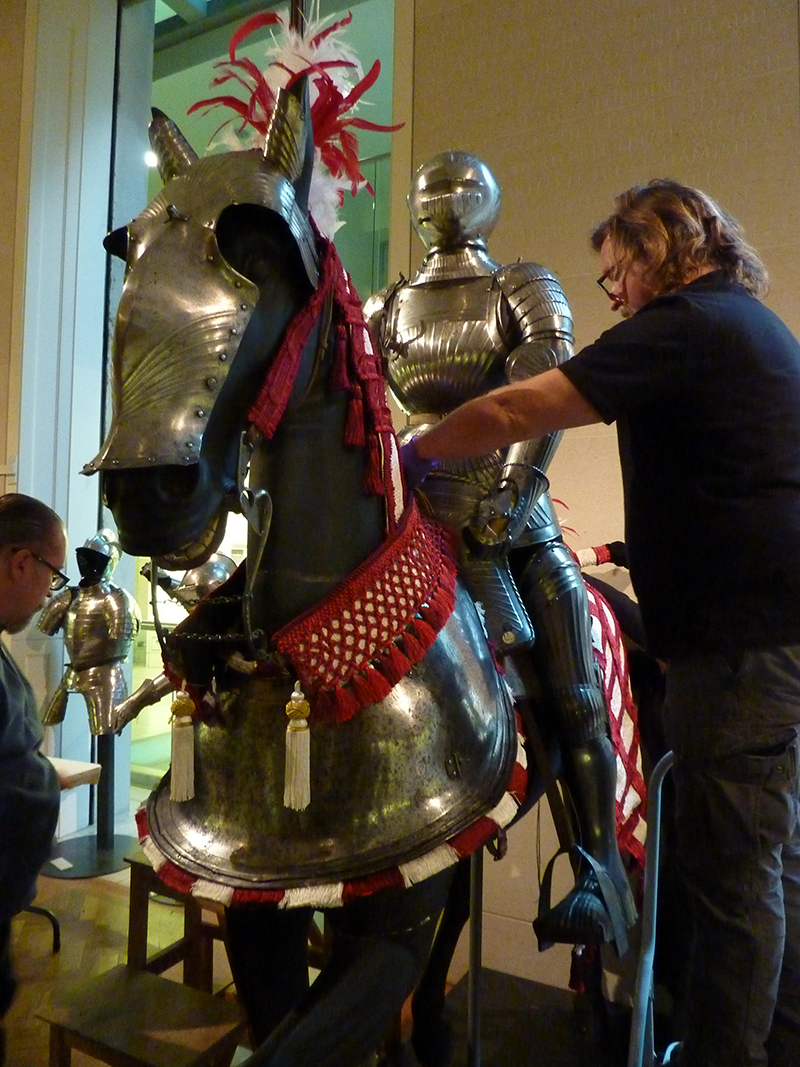
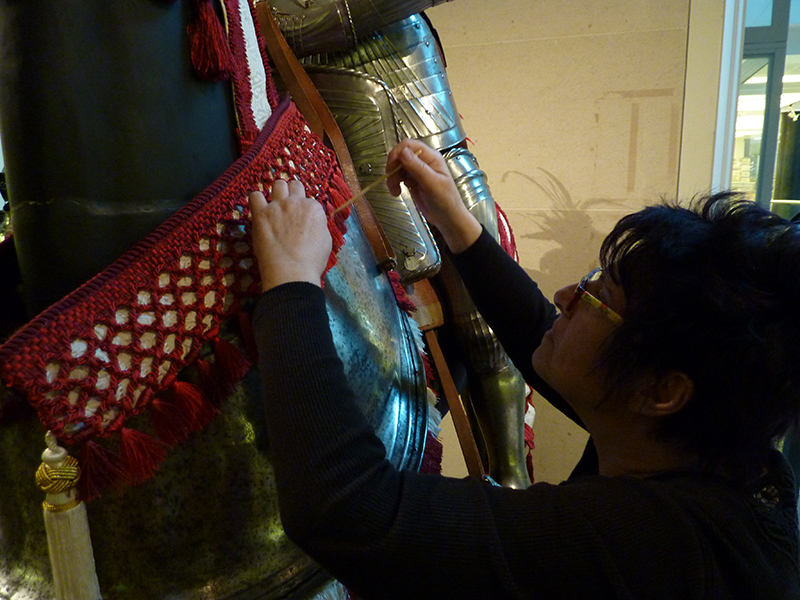
Installation day
Installation day came in late March. The challenge: to install barding over Renaissance horse armour sitting on a Victorian horse mannequin, while safely getting the knight in his Renaissance suit of armour out of the saddle and back up again. Simple, right?
Watch the installation process in this time-lapse video:
Scroll down for Vicky’s photo diary: